How to Fix a Broken Ganache (The Emulsion Rescue Guide)
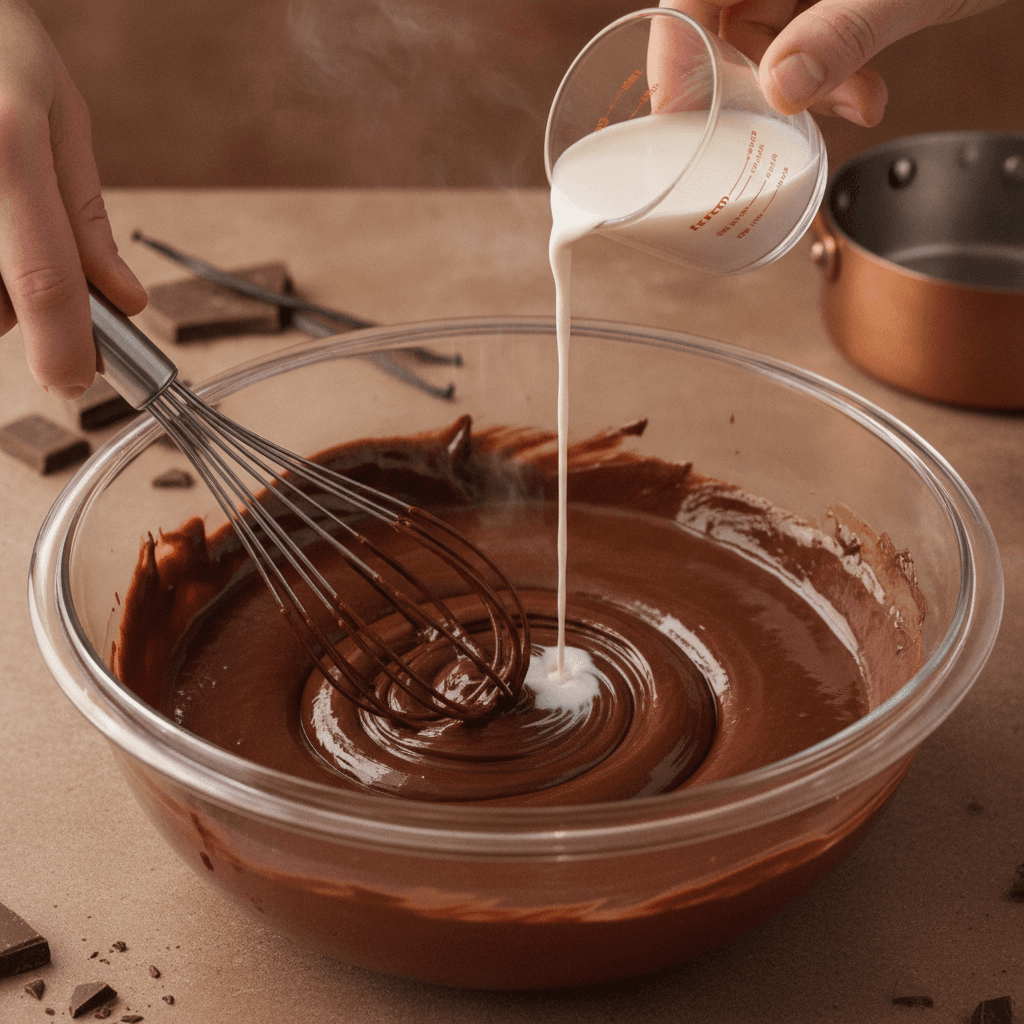
Broken ganache — grainy, oily, separated, or seized into a solid block — is the chocolate crisis that makes bakers panic mid-recipe. Almost all broken ganache is fixable in minutes once you know which kind of break you're dealing with. Here's the rescue manual.
Diagnose the Break
Ganache breaks in three distinct ways, and the fix depends on which:
- Split / separated (greasy-looking, oil pooling or streaking): the fat has separated from the water — usually from cream too hot, or agitation too aggressive
- Seized (suddenly grainy, stiff, crumbly — happened the moment liquid touched the chocolate): chocolate got shocked by liquid being too cold or too little
- Broken-from-overworking (was smooth, went grainy as you stirred): the emulsion got tired by over-agitation or over-cooling mid-stir
Split and broken-from-overworking are the same problem — fat/water emulsion failure. Seized is a different beast. Start with identification.
Fix 1: The Warm-Cream Drip (For Split Ganache)
The first, highest-success rescue: gently warm a small amount of cream (2–3 tbsp) in the microwave or a pan to steaming. Stir in a tablespoon of the broken ganache into that warm cream — it should smooth out. Then drizzle that smooth mixture back into the main broken batch a tablespoon at a time, stirring gently the whole time. As the smooth mixture blends back in, the whole batch comes back together. This works about 80% of the time, and it's always worth trying first.
Fix 2: The Blender Method (When Stirring Fails)
For splits that resist the drip method: immersion blender. The blending action mechanically forces the fat and water back into emulsion. Submerge the blender and pulse for 3–5 seconds, then rest, then pulse again. This feels like cheating and it is not — professional pastry kitchens use it on everything from ganache to hollandaise. The blender is the emulsion ambulance.
Fix 3: For Seized Chocolate (The Cold-Start Rebuild)
Seized ganache got shocked and needs a gentle rebuild: microwave the whole mass in 10-second bursts, stirring between, until it's mostly melted but still holding structure — and then start the emulsion over by adding warm cream gradually (exactly like making ganache from scratch, except you already have all ingredients in the bowl). It'll look rough at first; keep going. After 3–4 rounds of warm-stir-rest, it usually comes back to glossy.
Fix 4: When It's Actually Done For (Rarer Than You Think)
Walk-away conditions: if the ganache contains burned chocolate (smells acrid), if water got in and the chocolate granulated at a molecular level (this is rare and shows as permanent grit), or if the ganache has been 'being rescued' for more than 30 minutes with no improvement (diminishing returns; fresh ganache takes 10 minutes anyway). Otherwise ganache that 'won't fix' is usually one more warm-cream drizzle or blender pulse away from saving.
The honest math: the base ingredients of a 200g/100ml ganache batch cost about $3 — throwing away a 'failed' batch and restarting is often cheaper in time than extended rescue attempts. No shame in the full restart.
Prevention: The Four Rules of Never-Broken Ganache
- Cream never boils — steaming only (180–190°F); active boiling breaks the milk solids and risks the emulsion before it starts
- Wait the full 2 minutes after pouring on chocolate before stirring — premature stirring breaks the emulsion-in-formation
- Stir slowly from the center outward — vigorous whipping introduces air and tire the emulsion
- Match temperatures — both liquid additions (like our watermelon reduction macs) and chopped chocolate should be close in temperature when combined — a cold reduction into hot ganache is how you get splits
These four rules plus a thermometer will get you to 'ganache never breaks' in a few batches. Our chocolate macs are proof that the method is stable at production scale — these rules are what makes it so.
Broken ganache is a fixable problem; empty fridge is not. For macs with always-perfect ganache: Antonio's ships.